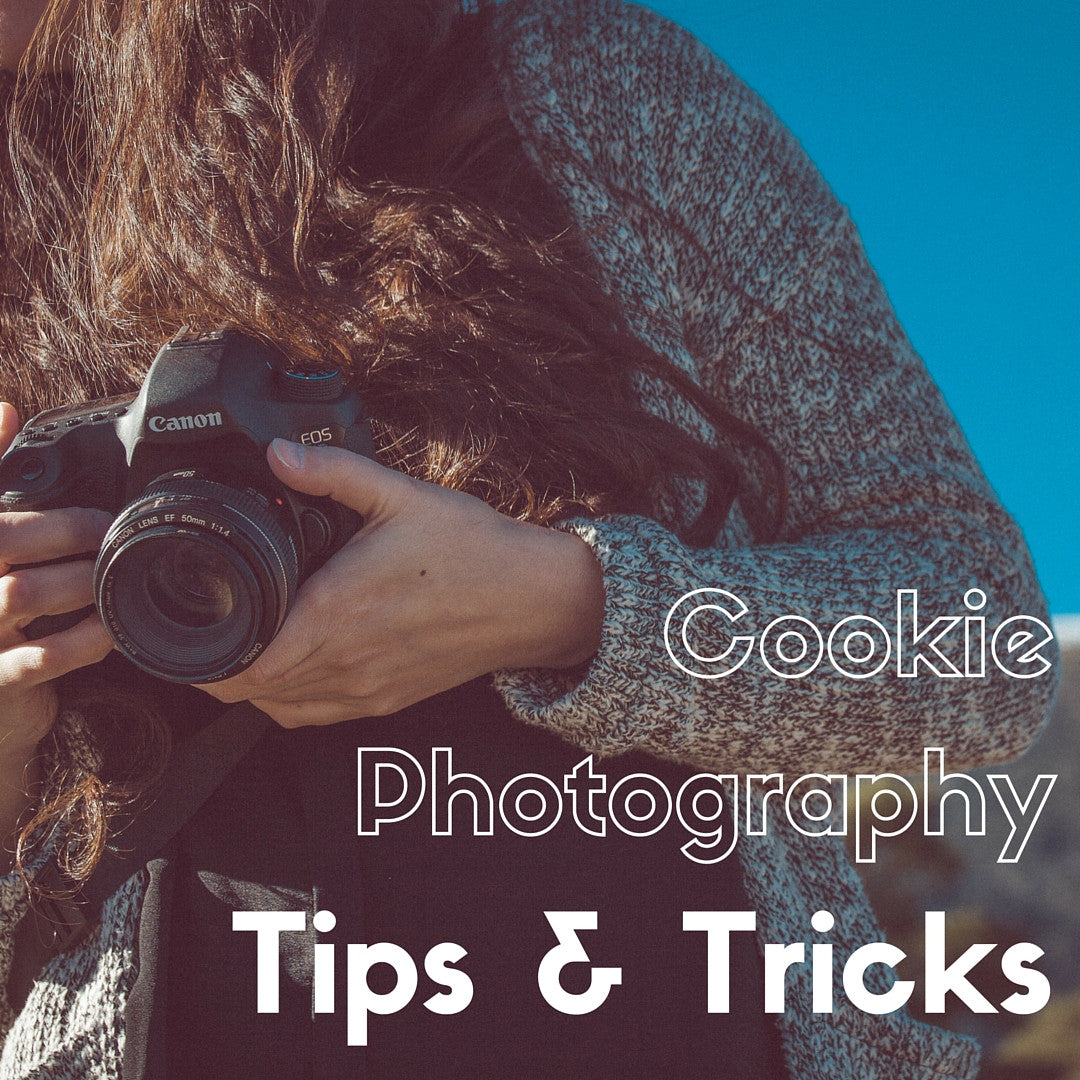
After decorating beautiful, delicious cookies, it's time to share your creations with the world! Here are some tips and tricks for photographing your cookies like a pro, whether you're snapping pictures with your iPhone or DSLR.
*
1. Good lighting is the most important part of photographing your cookies! Natural light is easiest to work with, so try finding an area near a window when the sun is out.
2. Place your cookies on an interesting surface. Marble contact paper is a classy investment that you can use for other projects. We also love weathered wood backgrounds for a rustic touch! This adds character to your photographs.
3. Incorporate fun and relevant props to take your setup to the next level. Think about the theme of your cookies. Spring cookies call for whimsical props like flowers or anything pastel-colored. Kitchen props like flour, sprinkles, and measuring cups work with almost any kind of cookie!
4. Create depth of field for focus and visual interest. This is when part of the photo is sharp and in focus while another part is slightly blurred. On your phone, this can be done by tapping on your subject. On your camera, try zooming in slightly and focusing your viewfinder on your subject.
5. Process your photos after you've taken them! Photography doesn't stop after you snap a picture. Use iPhone applications like Snapseed, A Color Story, Vsco and Pixlr to edit your photos. And of course Photoshop is also a great desktop tool to touch up your photos. Make basic adjustments like brightness, contrast, and temperature, or even add a subtle filter!
Happy photographing! We'd love to see your next cookie masterpiece, so be sure to tag #cookiecutterkingdom on Instagram!


2 comments
I like to see how you can put together your photo shoot using lamps cause a lot of us are not lucky to live in a house an use our back yards. Especially on a budget. Thank you felicia
The weathered wood—is this an app or a picture that looks like a true background? Where can I find this? Love it!