When we first saw this cookie, we couldn't stop staring. Its watercolor design is amazing. Naturally, we asked the creator, Jenessa, for the how to! It's a great cookie to make for any occasion especially for a birthday or something spring related!
*
If you were to look inside my head, it would probably remind you of a pinball machine; a bazillion ideas bouncing off the walls of my brain every three seconds. With that being said, I am also somewhat of a perfectionist. Scattered brain + perfectionism = stress freak. As I was organizing ideas for Valentine's Day cookies, I came across some work by decorator/artist, Angela Niño. To me, her style was untamed and raw, but I was amazed at how everything she did came together so perfectly. I immediately stopped what I was doing and decided I wanted to try and create something similar using her beautiful water color/splatter technique. The best part about decorating this cookie was that it was very difficult to mess up and I knew that if I somehow did, I could totally eat it. There's nothing like a tasty mistake!
Materials needed:
-Your favorite roll out cookie dough
-CookieCutterKingdom Nottingham Plaque Cookie Cutter
-Rolling pin (guides will help in getting an even thickness. I use paint sticks wrapped in plastic wrap)
-White Royal Icing
-Piping bags (tipless or one fitted with a #2 tip)
-Gel food coloring (I used Deep Pink and Sky Blue by AmeriColor)
-Water
-Gold luster dust
-Clear Alcohol (like Vodka) or extract
-Small paintbrushes (used only for food)
Directions:
First, roll out your dough to 3/8" - 1/4" thick and then cut out your shape with your cutter, making sure to press down evenly to get a clean cut.
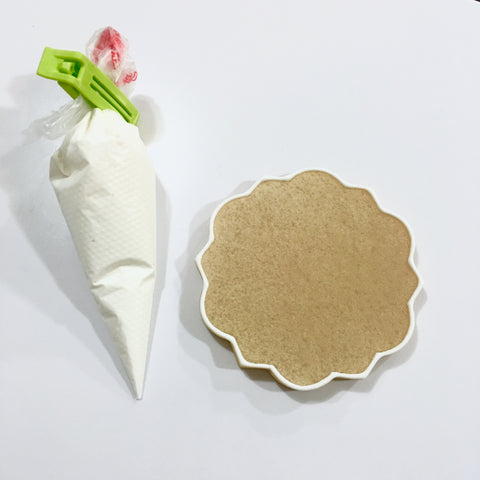
Bake and cool your cookies. After they've cooled, outline and flood them with white royal icing. I use the same 15 second consistency for both outlining and flooding. Once you've finished flooding your cookie, give it a little shake .::Shake it, shake it. Shake it like a Polaroid picture::. I love that song... But really, you just want to shake gently. This helps to disperse the icing evenly and gives you a nice flat surface to paint.
Let your cookies dry completely before painting. I like to let them dry overnight, but 8 to 12 hours works, too.


Now that your cookies are completely dry, you can begin painting. Place a drop of your gel colors onto your palette. You will only need one drop for these. A little goes a long way! Dampen your paint brush with water and then dip the tip into one of the colors.
Start with a small section and make a blob. The more water you use on your brush, the lighter the color. The less water you use, the more intense the color will appear on your cookie. Move around your cookie and paint several blobs in different shades and sizes. I wish I had a more technical word for "blob," but I couldn't think of any.

Repeat the same process with the second color, filling in the other spots on your cookie. You don't have to worry about covering all of the white because you will go and fill those areas in a little bit.
Once you've finished adding both colors, wet your brush with water and gently blend the two colors together where they touch. Feel free to add more color as you go to fill in spaces or to break up larger sections. This creates a more cohesive look to the colors. Also, try not to use too much water because it will eventually eat away at your icing. If you've used too much, just take a paper towel and blot the excess water off.
Easy peasy! Set your cookies aside for 20 to 30 minutes to dry or you can place them in front of a fan for a few minutes to speed up the process.

Next, take piping consistency (20 to 30 seconds) royal icing and pipe the rose shape onto your cookie. Start by making a swirl in the middle of your cookie and work outwards. Pipe several sections around the swirl to create petals. Make the sections or petals larger as you work your way to the edge. If you want, pipe one or two pointed shapes to look like leaves.
Tip: It actually looks better if you don't pipe perfectly because the curves and unevenness make more realistic shaped petals. Set the cookies aside for another 10 to 15 minutes to set.


Mix a few drops of vodka or extract with your gold luster dust and paint over the white rose outline. Don't worry if it bleeds or you paint off of the outline. You won't be able to tell once you're finished.
Add an extra drop or two of vodka to your luster dust mixture and splatter gold all over your cookie. If you feel like there is an empty spot on your cookie, just dab a spot of gold wherever you want.

Now don't you feel like Georgia O'Keeffe painting the brilliant colors of the sunrise in New Mexico? Well maybe not, but at least you don't have to be afraid of trying out new techniques that may seem intimidating or out of your style.
Xx,
Jenessa
Dolce Cakes & Confections


1 comment
Beautiful